Your car’s engine can’t function without oil. The simplest approach to prevent catastrophic engine failure and the enormous repair expenses that come with it is to keep oil levels at all times.
If you’re driving an older vehicle, this is extremely critical. When the mileage on your vehicle gets up over the hundred thousand mark, the engine may start leaking tiny amounts of oil due to normal wear and tear. The oil level may drop too far between oil changes as a result of this cumulative loss.
Oil leaks are also more common in high-mileage vehicles. Checking your oil on a regular basis will help you determine how frequently you should add more. After a month of weekly checks, you will have a good idea of how rapidly your oil is being used up, if at all. Once you have the information, you just need to check it once a month.
How to Check Your Car’s Oil
Check Your Oil in the Following Manner:
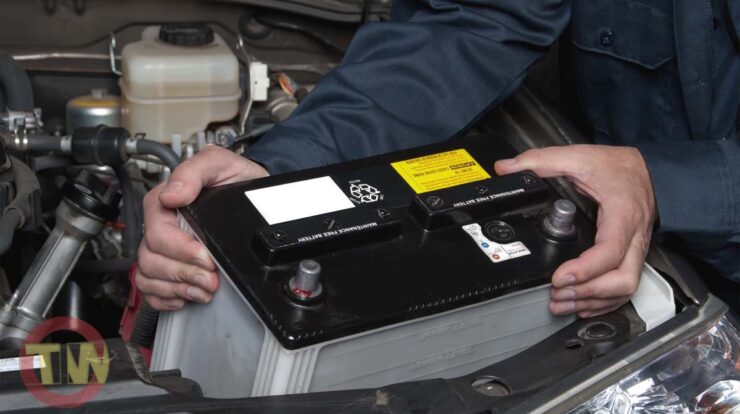
1. Prepare to Check
Make sure your vehicle is parked on level ground with the parking brake engaged and the engine off (or in a lower gear if using a manual transmission). The hood should be raised. Consult your user guide if you are unsure of how to accomplish this.
The hood release lever is typically located on the left side of the dashboard in most vehicles. It’s also necessary to release the safety catch located under the leading edge of the hood before you may lift it.
2. Find the Dipstick
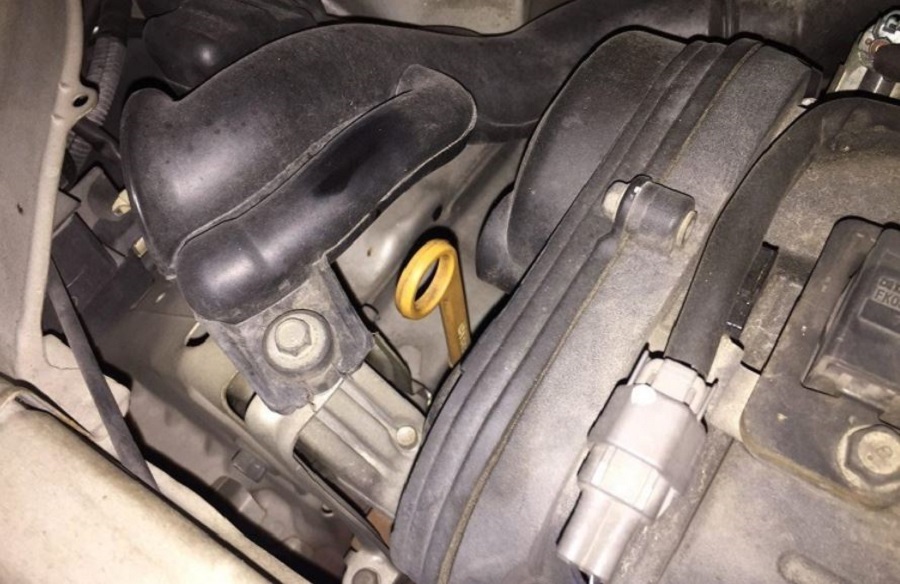
Most vehicles dipsticks have small colored handles, typically yellow or orange, and are marked with an oil can symbol, making them easy to find.
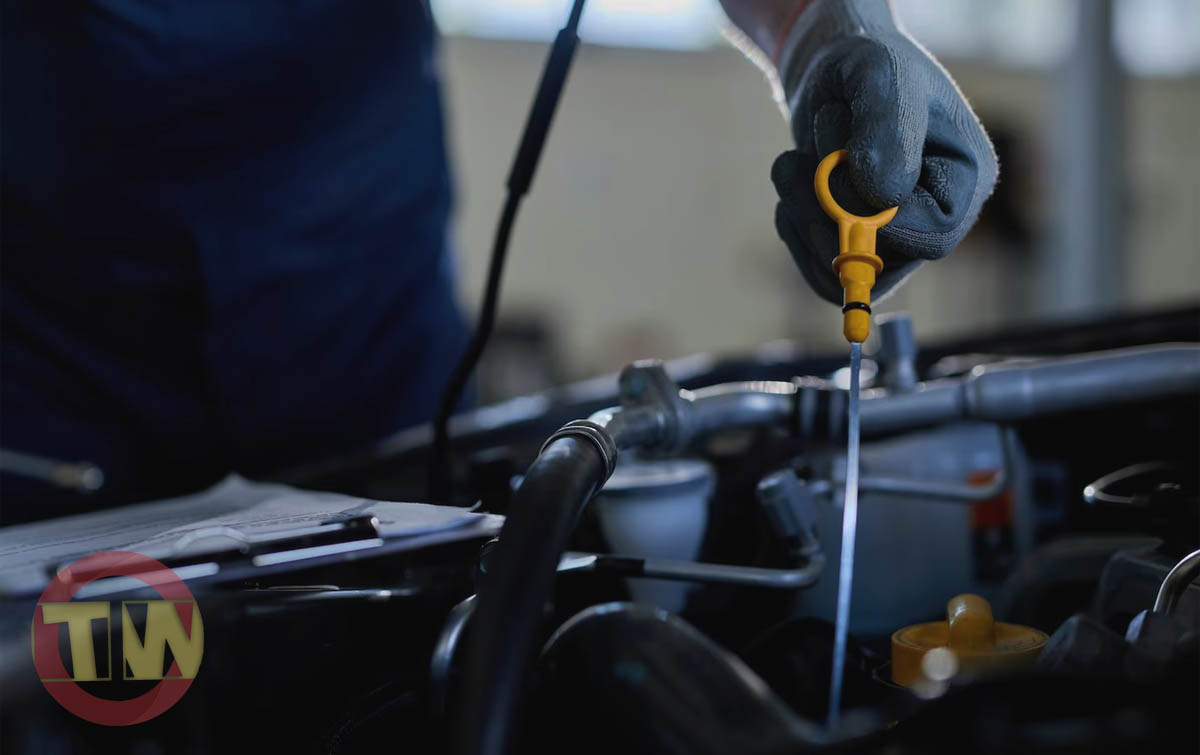
3. Pull the Dipstick Out
Extract the dipstick entirely from its housing. It’s just like taking a sword out of its scabbard. Be prepared to clean the oil off the dipstick’s end with a rag or paper towel. The lowest of the two lines on the dipstick represents an oil level one quart below the minimum requirement. When the oil level in the crankcase (the car’s oil tank) reaches the full mark, the vehicle is ready to drive. The words “full” and “add” are printed on certain dipsticks as well.
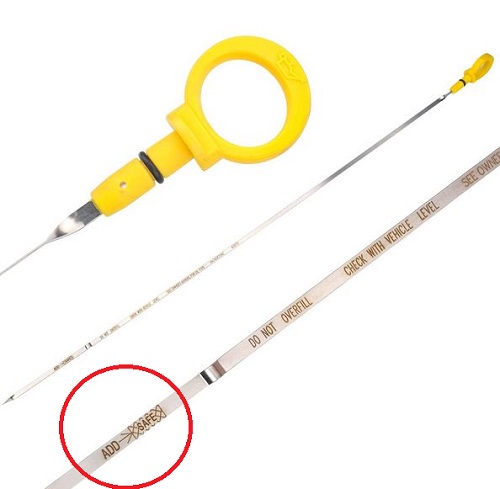
4. Note Oil Level
Carefully lower the dipstick to the bottom of the tube. Withdraw it and take a good look at its oiled tip. Your vehicle has an adequate amount of oil if the oil level is between the two lines. When it reaches the minimum line, you should add a quart.
5. Wait and Re-check
After adding a quart of oil, let it sit for a few minutes to let it to drain into the crankcase, and then check the level again to make sure it’s between the high and low levels. For your engine to have sufficient lubrication to operate safely, the oil level does not need to be at the highest possible setting.