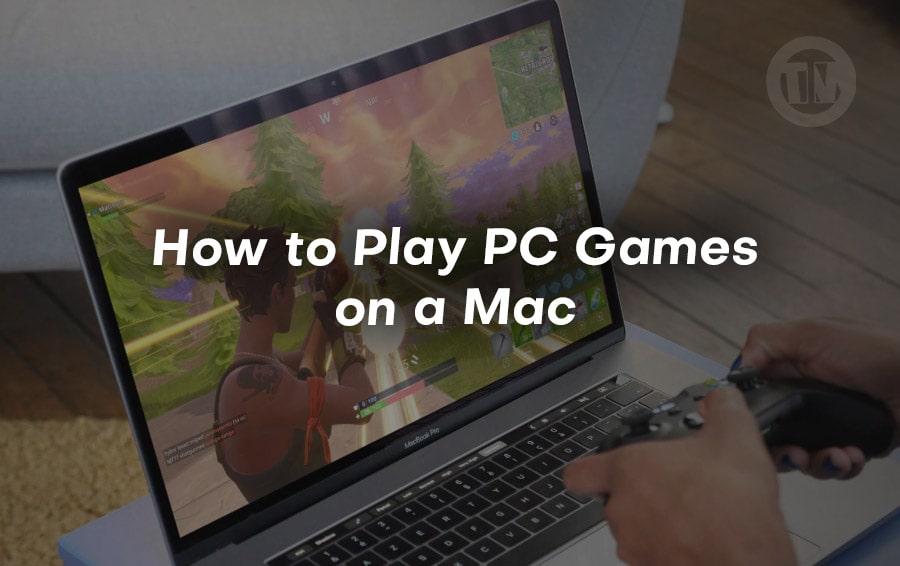
So, you’re rocking a Mac but want to play some games on a Mac? I get it, Macs are amazing for creative work, productivity, and sleek aesthetics, but when it comes to gaming, it can sometimes feel like you’re stuck in the stone age.
The good news? There are plenty of ways to play PC games on your Mac without going through the hassle of installing Windows. So, if you are interested in gaming on your Mac, well, don’t worry.
I will provide you with many solutions that can help you make it happen.
Check for a Native Mac Version
Alright, let’s start with the simplest solution, shall we? These days, a lot of popular PC games actually come with Mac versions.
The big game storefronts like Steam, Epic Games Store, GOG, and Blizzard’s Battle.net have expanded their libraries to include macOS support for many titles. So, before you dive into more complicated workarounds, it’s a good idea to check if the game you’re itching to play is already available natively on Mac.
Here’s a quick tip: if you’re using platforms like Steam, just hit that search filter for Mac-compatible games. You’d be surprised how many big-name games and a whole treasure trove of indie gems are ready to roll on your Mac.
Sure, juggling multiple game launchers can be a hassle (I mean, who enjoys having five different apps for games?), but it’s still the most straightforward way to get your hands on Mac-friendly titles.
Oh, and speaking of native games, let’s not overlook Apple Arcade! For just $6.99 per month, you get access to a growing library of over 200 games, some of which are exclusive to Apple devices.
Plus, it’s bundled with Apple One alongside other goodies like Apple Music and Apple TV+. So if you’re already invested in the Apple ecosystem, this is a no-brainer.
Sure, you won’t find hardcore AAA titles here, but there are plenty of fun, casual, and indie games to keep you entertained.
Leverage the Power of Game Streaming
Now, if you’re craving more graphically intensive PC games, game streaming is where it’s at. Thanks to advancements in technology from companies like Microsoft and Nvidia, game streaming has evolved significantly.
Remember the days when streaming games meant laggy, pixelated messes? Yeah, those days are mostly behind us.
With options like Nvidia’s GeForce Now and Microsoft’s Xbox Cloud Gaming, you can reliably stream games to your Mac without needing a super beefy GPU. The best part? These services offload the heavy lifting to remote servers, so even older Macs can handle high-quality gaming.
How to Get Started with Xbox Cloud Gaming
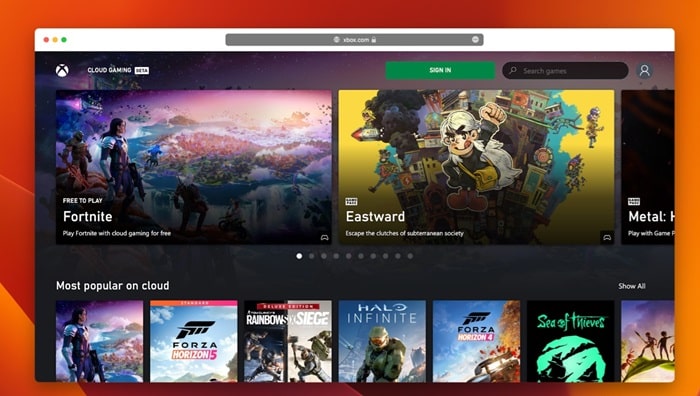
Want access to Xbox’s extensive library? Easy peasy. All you need is an Xbox Game Pass Ultimate subscription, which is a fantastic deal, considering it includes hundreds of games.
I’d highly recommend getting an Xbox Controller (or any other compatible gamepad) for the best experience. Just fire up your browser, head over to the Xbox Cloud Gaming website, pick a game, and hit that play button and you’re good to go.
If you’re looking for something a bit more tailored for Mac, there’s an app called OneCast. It’s a paid app, but it allows you to stream Xbox games directly to your Mac at 1080p with minimal lag.
Perfect if you already have an Xbox at home and want to play on your Mac in another room.
Nvidia GeForce Now
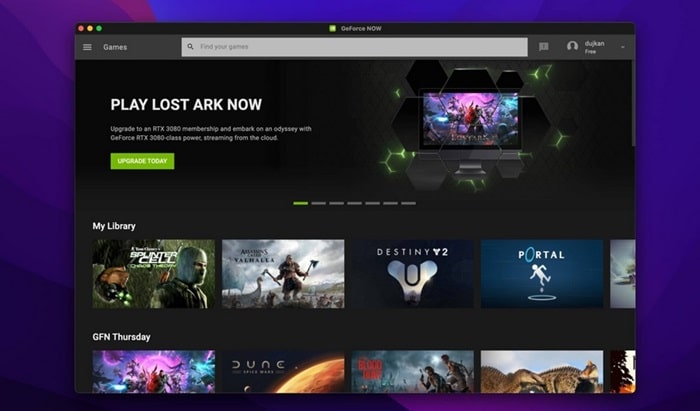
If you already own games on platforms like Steam or Epic Games Store, then GeForce Now is an absolute game-changer (pun intended). This service lets you stream the games you own, so you’re not restricted to a limited library.
The free tier has some limitations (like one-hour sessions and longer queue times), but it’s perfect for testing the waters. Want more features like ray tracing and DLSS? The paid tiers, starting at around $10 per month, unlock those goodies along with longer session times.
The library is massive, with over 2,000 games supported and new titles added every week. But keep in mind that not every game is supported due to licensing issues, so be sure to check their game list before subscribing.
Steam Link
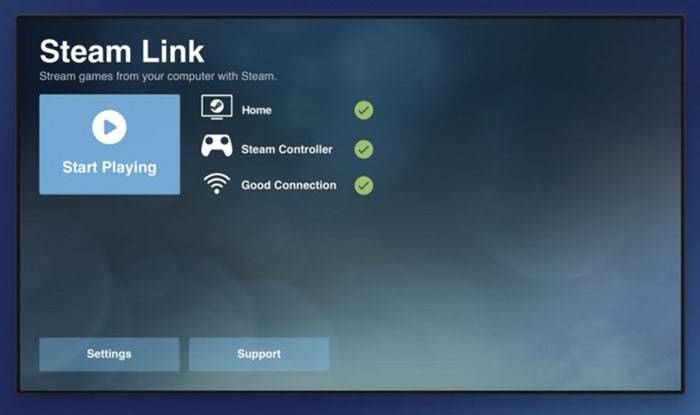
If you have a gaming PC lying around, the Steam Link app is another nifty solution. This free app allows you to stream games from your PC to your Mac over your local network.
No need for a high-speed internet connection since it’s all local, which means lower latency and better performance. Just install Steam on both devices, link them up, and you’re ready to rock.
Another Streaming Options: Amazon Luna
If you’re an Amazon Prime subscriber, you’ve got another option to consider: Amazon Luna. The basic Luna subscription lets you play a handful of rotating games for free every month.
Want a broader selection? You can subscribe to different channels like Luna+ or Ubisoft+ for access to larger libraries, ranging from indie titles to AAA games.
You can play directly from your browser or using the Luna Controller, which connects via Wi-Fi for reduced input lag. It’s pretty flexible too, supporting mouse and keyboard setups, PlayStation DualShock 4, and Xbox One controllers.
Compatibility Layers & Emulators
Let’s start with a powerful tool in the Mac gamer’s arsenal: compatibility layers. Since not every game is available natively on macOS, you might need a bit of extra help to run those beloved Windows-only games.
That’s where Wine comes in.
What is Wine?
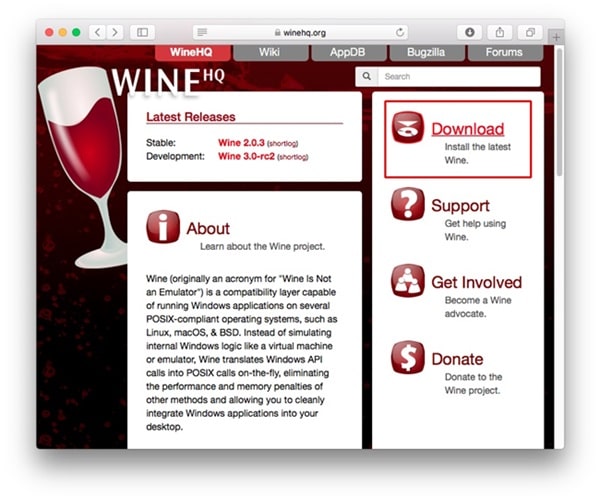
Nope, I’m not talking about the drink (though you might want a glass when setting this up). Wine is an open-source compatibility layer that translates Windows software, including games, into a format that can run on non-Windows platforms like Mac and Linux.
Unlike a full Windows installation, Wine doesn’t require you to partition your hard drive or use up too many system resources. It’s not technically an emulator, which means it runs pretty efficiently—but be aware that you’ll need a decently powerful Mac to get the most out of it.
Fun fact: Wine actually stands for “Wine Is Not an Emulator”, which is a cheeky nod to how it works differently from traditional emulators.
How to Setting Up Wine
Now, let’s be honest, setting up Wine can be a bit tricky, especially if you’re not a tech wizard. But don’t stress—there are some fantastic third-party applications that make the process way more user-friendly. Here are the top three:
- PlayOnMac:
This is one of the most popular Wine wrappers. It comes with a friendly graphical interface and makes installing games and software a breeze. - Porting Kit:
A fantastic option if you’re looking to play older PC games. Porting Kit offers an extensive library of pre-configured games that you can install with just a few clicks. - WineBottler:
This one allows you to package your Windows programs into macOS apps, which is super handy if you want a seamless experience.
Each of these tools does most of the heavy lifting for you, but keep in mind that not all games are guaranteed to work flawlessly. The Wine Application Database is your best friend here.
It’s a community-maintained resource that lists compatibility ratings for tons of games and applications, so check there before diving into a new title.
CrossOver: A Premium Wine Alternative
If you’re willing to shell out a bit of cash for a more polished experience, CrossOver is another excellent option. Think of it as a more refined version of Wine that’s been optimized to run Windows software on macOS.
How CrossOver Works
CrossOver doesn’t require you to set up a full Windows partition or use a virtual machine, which means it’s super lightweight on your system resources. At $74, it’s not the cheapest solution out there, but it’s far less hassle than manually configuring Wine.
Plus, there’s a 14-day free trial if you want to test the waters before committing.
CrossOver is especially great for popular platforms like Steam or Epic Games Store, allowing you to install these clients and access your game library directly. Just be aware that it’s not perfect—DirectX 12 support is still a bit hit-or-miss, so newer games might have some issues.
Also, CrossOver might struggle with beta or unreleased versions of macOS, so it’s best to stick with stable releases.
Go Retro with Emulators
Maybe modern games aren’t your thing, and you’re craving some retro vibes instead. If you’re more into the classics, there’s a whole world of retro gaming available through emulators.
Playing Old DOS Games with DOSBox
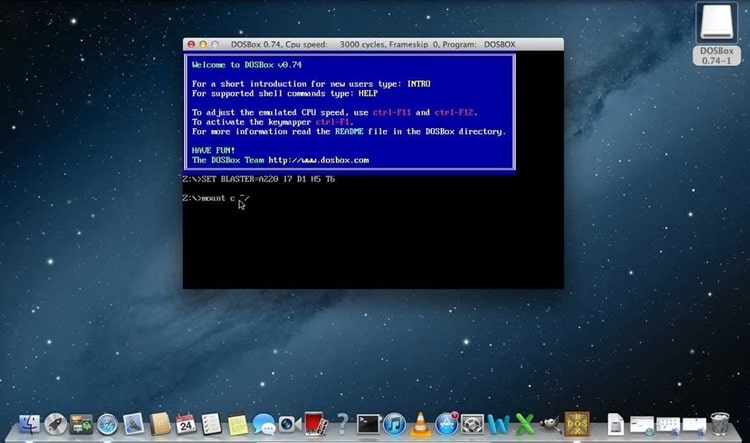
Got a hankering for old-school PC games that predate even Windows? DOSBox is your go-to solution. It’s a free emulator that perfectly replicates the DOS environment needed to run those ancient gems.
Here’s how to setting it up..
- Download DOSBox for macOS from their official site
- Create a folder for your games (e.g.,
~/Documents/DOSgames) - Open DOSBox and type in commands like
mount c ~/Documents/DOSgamesto set up a virtual C: drive - Navigate to your game’s executable file (something like
C:\keendrms\start.exe) and hit Enter
Then you’re now playing games from the early ’90s on your modern Mac! Keep in mind, though, that some games might need a bit of tweaking, so check compatibility guides if you run into trouble.
OpenEmu
If you’re more of a console gamer, OpenEmu is a fantastic emulator that supports a wide range of classic systems like the NES, SNES, Sega Genesis, and even the original PlayStation. OpenEmu is incredibly user-friendly, with a clean interface that organizes all your retro games in one place.
Just drag and drop your ROM files, and you’re good to go.
Pro Tip: If OpenEmu doesn’t support the console you’re looking for, there are tons of other emulators out there, like Dolphin for GameCube and Wii games, or PCSX2 for PlayStation 2 titles.
Conclusion
And there you have it, whether you’re using compatibility layers like Wine and CrossOver, or going retro with emulators, there are plenty of ways to expand your Mac gaming library without installing Windows.
Sure, it might take a bit of trial and error, but the rewards are totally worth it.

