In the world of web development, Django has established itself as a powerhouse framework, offering developers a seamless and efficient way to create complex web applications. One of the crucial components of modern web applications is image manipulation, and Django simplifies this process with its versatile features.
In this article, we will delve into the realm of image cropping in Django and provide you with the opportunity to download the source code for an image crop project. Let’s embark on this journey of harnessing Django’s capabilities to enhance your web development endeavors.
Understanding Image Crop in Django
The Significance of Image Cropping
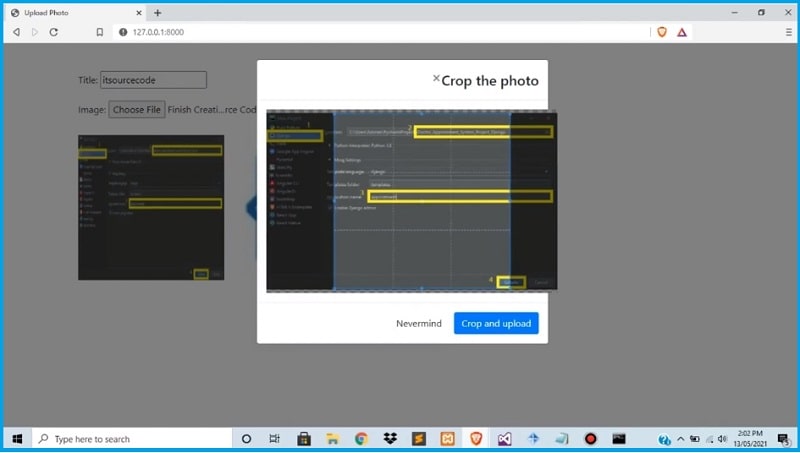
Images play a pivotal role in capturing user attention and conveying information. However, not all images are ready to be incorporated seamlessly into a web layout. This is where image cropping comes into play. Cropping allows you to focus on specific portions of an image, highlighting the most important elements while eliminating unnecessary distractions.
Django’s ImageField and Image Crop
Django’s ImageField is a field used for uploading images within models. When combined with third-party packages like django-image-cropping, the process of implementing image cropping becomes remarkably efficient. This package provides a simple and intuitive way to define specific areas of an image that users can crop, enhancing the user experience.
Download Image Crop Project in Django


| About Project | Project Details |
|---|---|
| Project Name | Image Crop in Django with Source Code |
| Python version (Recommended) | 3.8 Version |
| Programming Language Used | Python Django Language |
| IDE Tool (Recommended) | Sublime, Visual Studio, PyCharm |
| Project Type | Web Application |
| Database | SQLite |
| Link Download | Download |
Setting Up Your Image Crop Project
Step 1: Launch PyCharm and Create a New Project
- To begin, open PyCharm Professional
- Click on the File menu
- Select New Project
Step 2: Choose Django as the Project Type
- After clicking New Project, locate and choose Django as the project type
- Proceed to the next step
Step 3: Select the File Location
- Now, select the preferred location on your system where you want to create the project
- This location will serve as the workspace for your Django project
Step 4: Define an Application Name
- With the project set up, it’s time to name your Django application
- Provide a descriptive name that represents the purpose of the application
Step 5: Create the Project
- Confirm your settings and choices
- Click the Create button to initiate the project creation process
Step 6: Commence Coding
- With the project created, it’s time to delve into the coding process
- Begin by adding the necessary functionalities to implement the image crop feature
How to Running the Image Crop Feature
Step 1: Extract the Files
- Begin by extracting or unzipping the downloaded project files
- Ensure you have the project folder readily accessible
Step 2: Install Django and Start the Web Server
- Navigate to the project folder using the command prompt
- To install the Django framework, run the following command:
python manage.py migrate - Once the migration is complete, start the Django development server with this command:
python manage.py runserver
Step 3: Access the Image Crop Feature
- With the development server up and running, open your preferred web browser
- In the browser’s address bar, type the following URL:
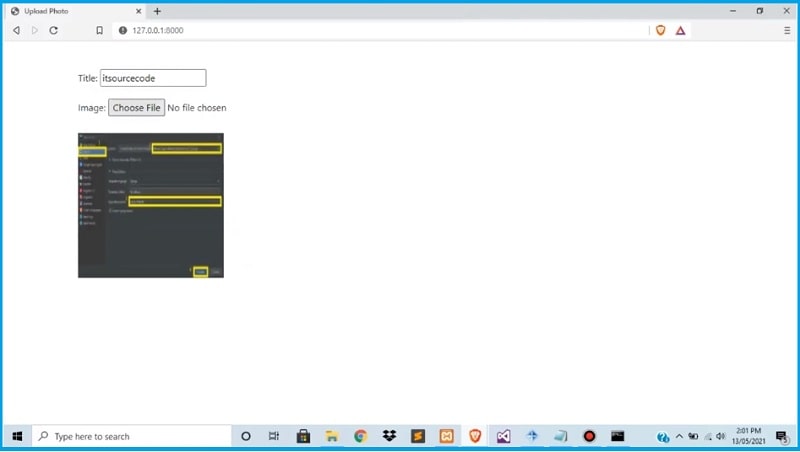
http://127.0.0.1:8000/ - Press “Enter” to access the locally hosted Django application
Conclusion
Congratulations! You’ve now embarked on a journey to understand and implement image cropping in Django. With the power of the django-image-cropping package, you can seamlessly integrate cropping functionality into your web applications, enhancing user experience and engagement.
Remember, effective image cropping can significantly impact how users perceive and interact with your content. So, go ahead and explore the endless possibilities that Django offers in the realm of image manipulation.


